
I have a website with the address photocroaker.com where I will be showcasing my work and selling it.
I haven't been able to post much on here, but I have learned a lot in the past few months of working professionally that I'm willing to share.
If you have a question, please shoot me an email and I will respond asap.
Wednesday, August 11, 2010
Tuesday, June 15, 2010
My Review of EF 24-70mm f2.8L USM Zoom Lens
Originally submitted at OneCall

This new lens does what many pros thought couldn't be done - replace the previous L-series 28-70 f/2.8 lens with something even better. Extended coverage to an ultra-wide angle 24mm makes it ideal for digital as well as film shooters, and the optics are even better than before with two Aspheric...
Great Everyday Lens!!!
By PhotoCroaker from Baltimore, MD on 6/15/2010
Pros: Fast / accurate auto-focus, Easily Interchangeable, Consistent Output, Nice Bokeh, Strong Construction, Durable
Cons: Heavy
Best Uses: Weddings/Events, Indoors/Low Light, Landscape/Scenery
Describe Yourself: Semi-pro Photographer
I had to send back the first copy I received due to massive focusing and color defects, but the second copy made me believe in this lens.
The bokeh is butter-smooth and the colors (especially greens and blues) are as vivid as they can be. I used to shoot RAW all the time so that I could touch up the photographs in post-editing, but I don't need to do it anymore with this lens. Now I shoot JPEG 99% of the time.
Be aware that this is a tank...heavy as they can make them. But you can get used to it with time. The 2.8 is worth it in lowlight indoor situations.
(legalese)
Monday, May 31, 2010
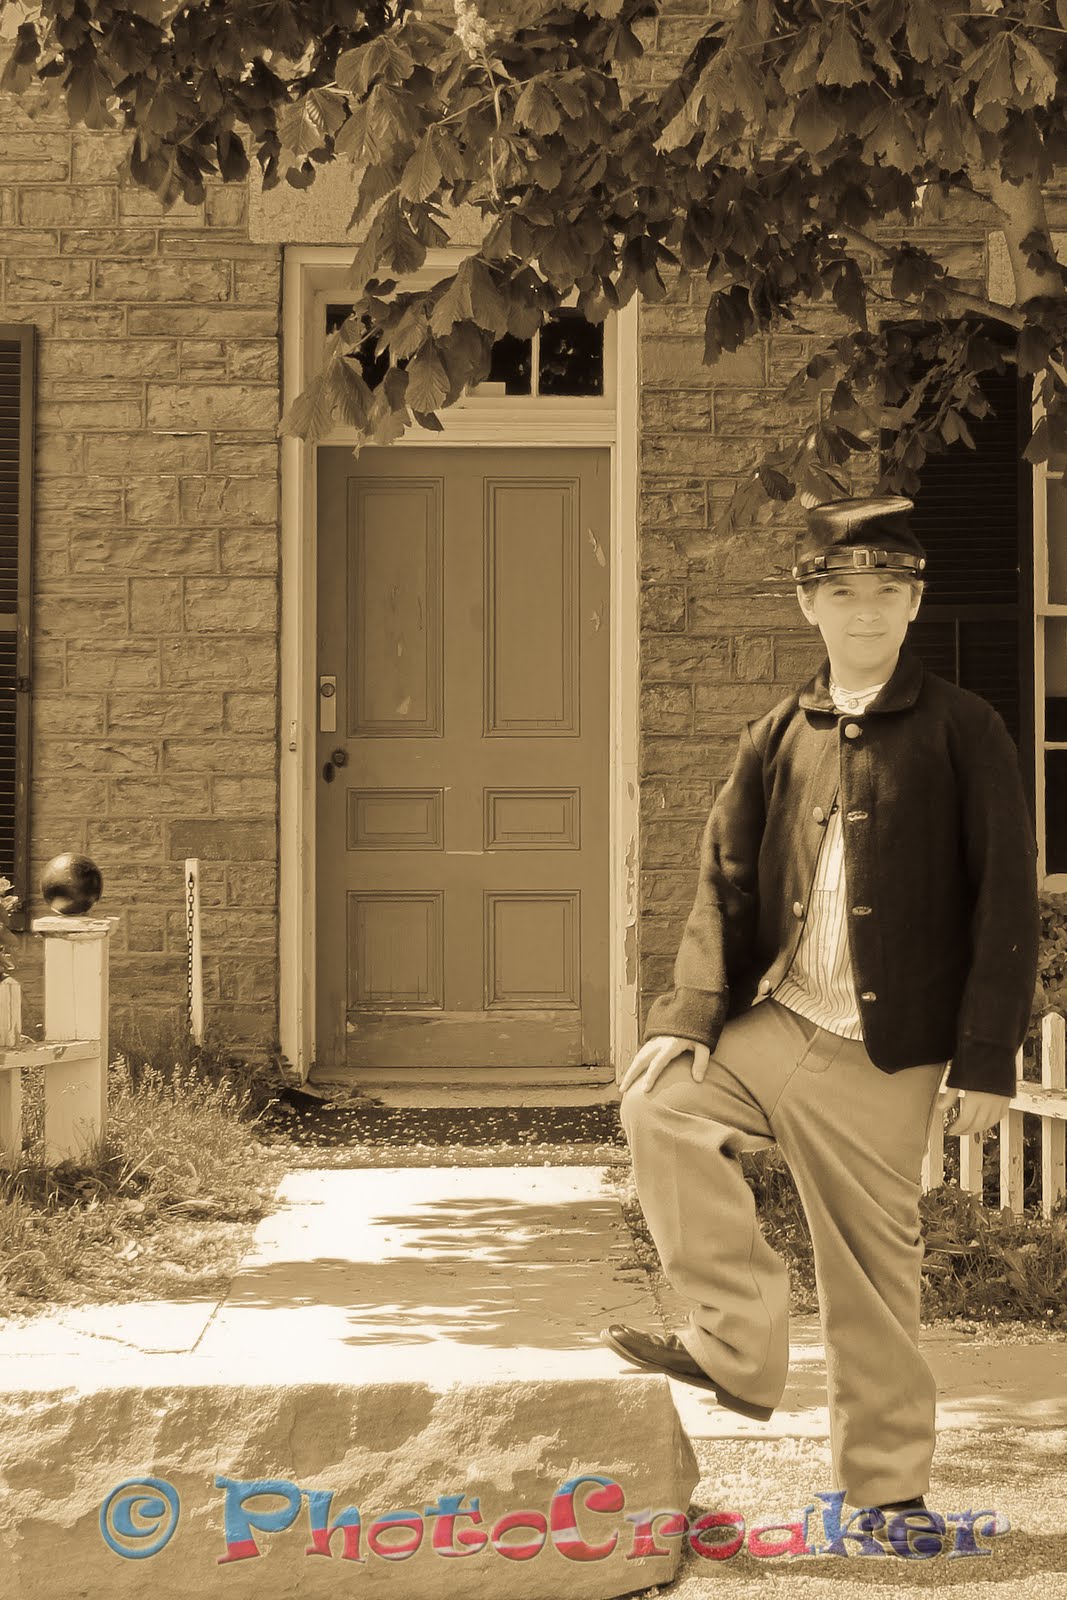
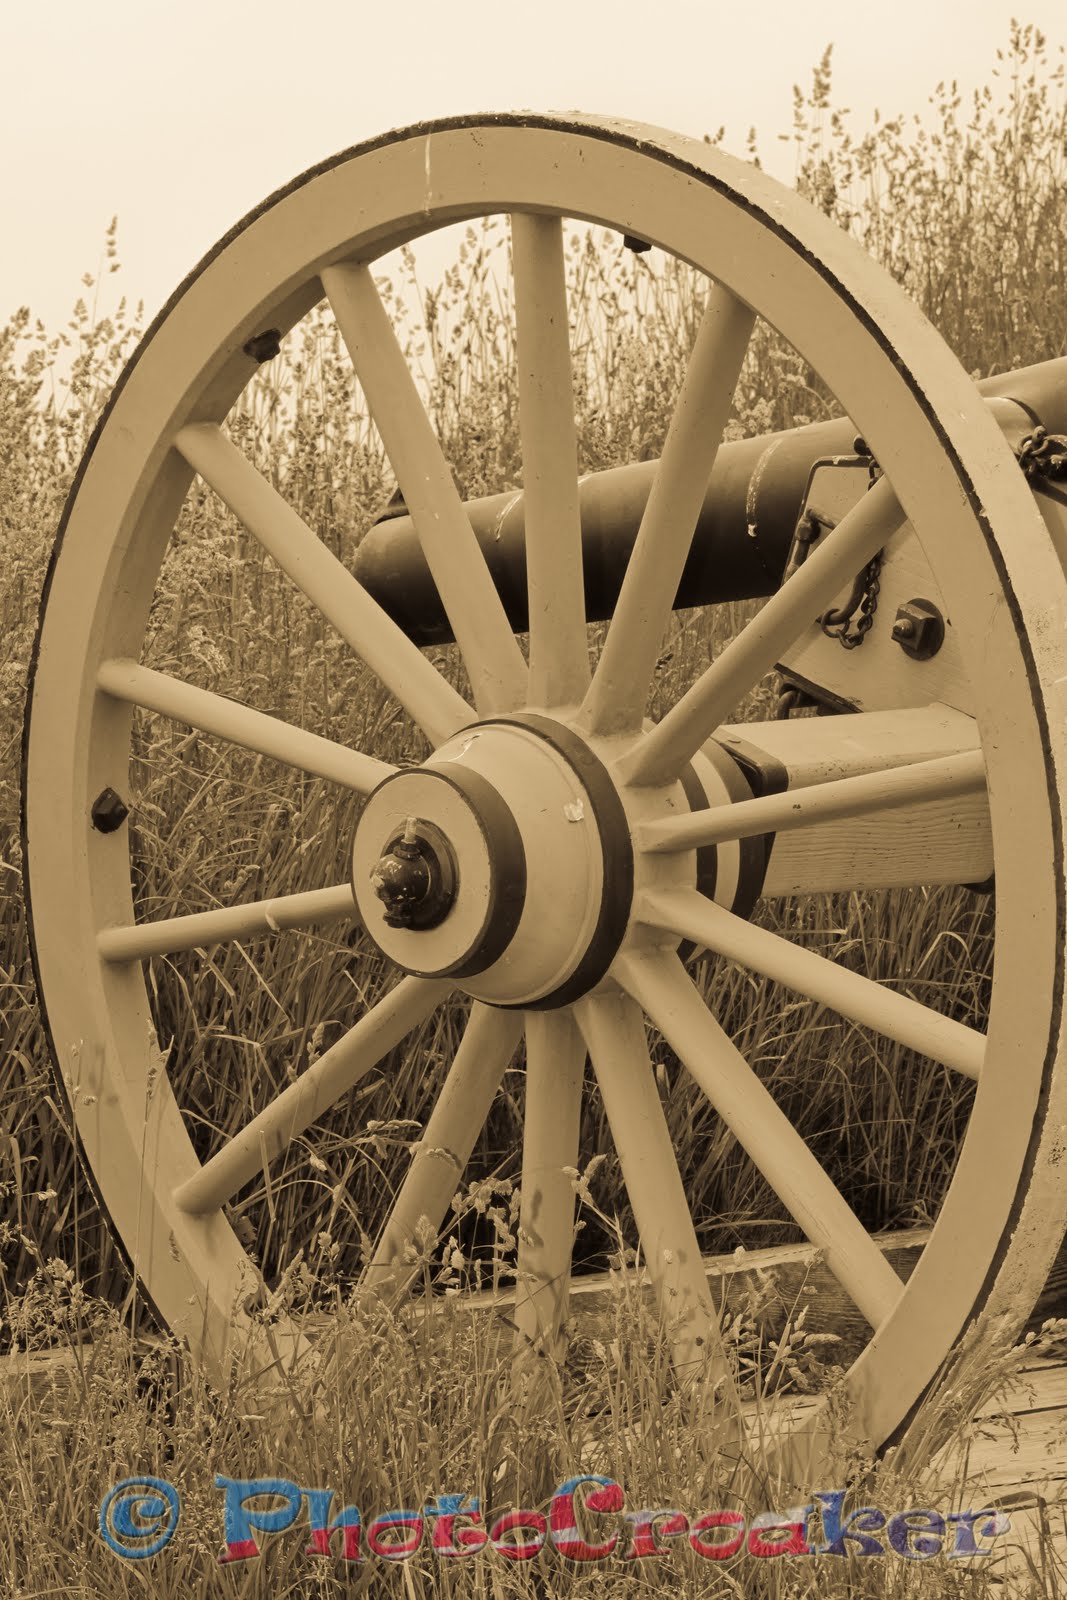
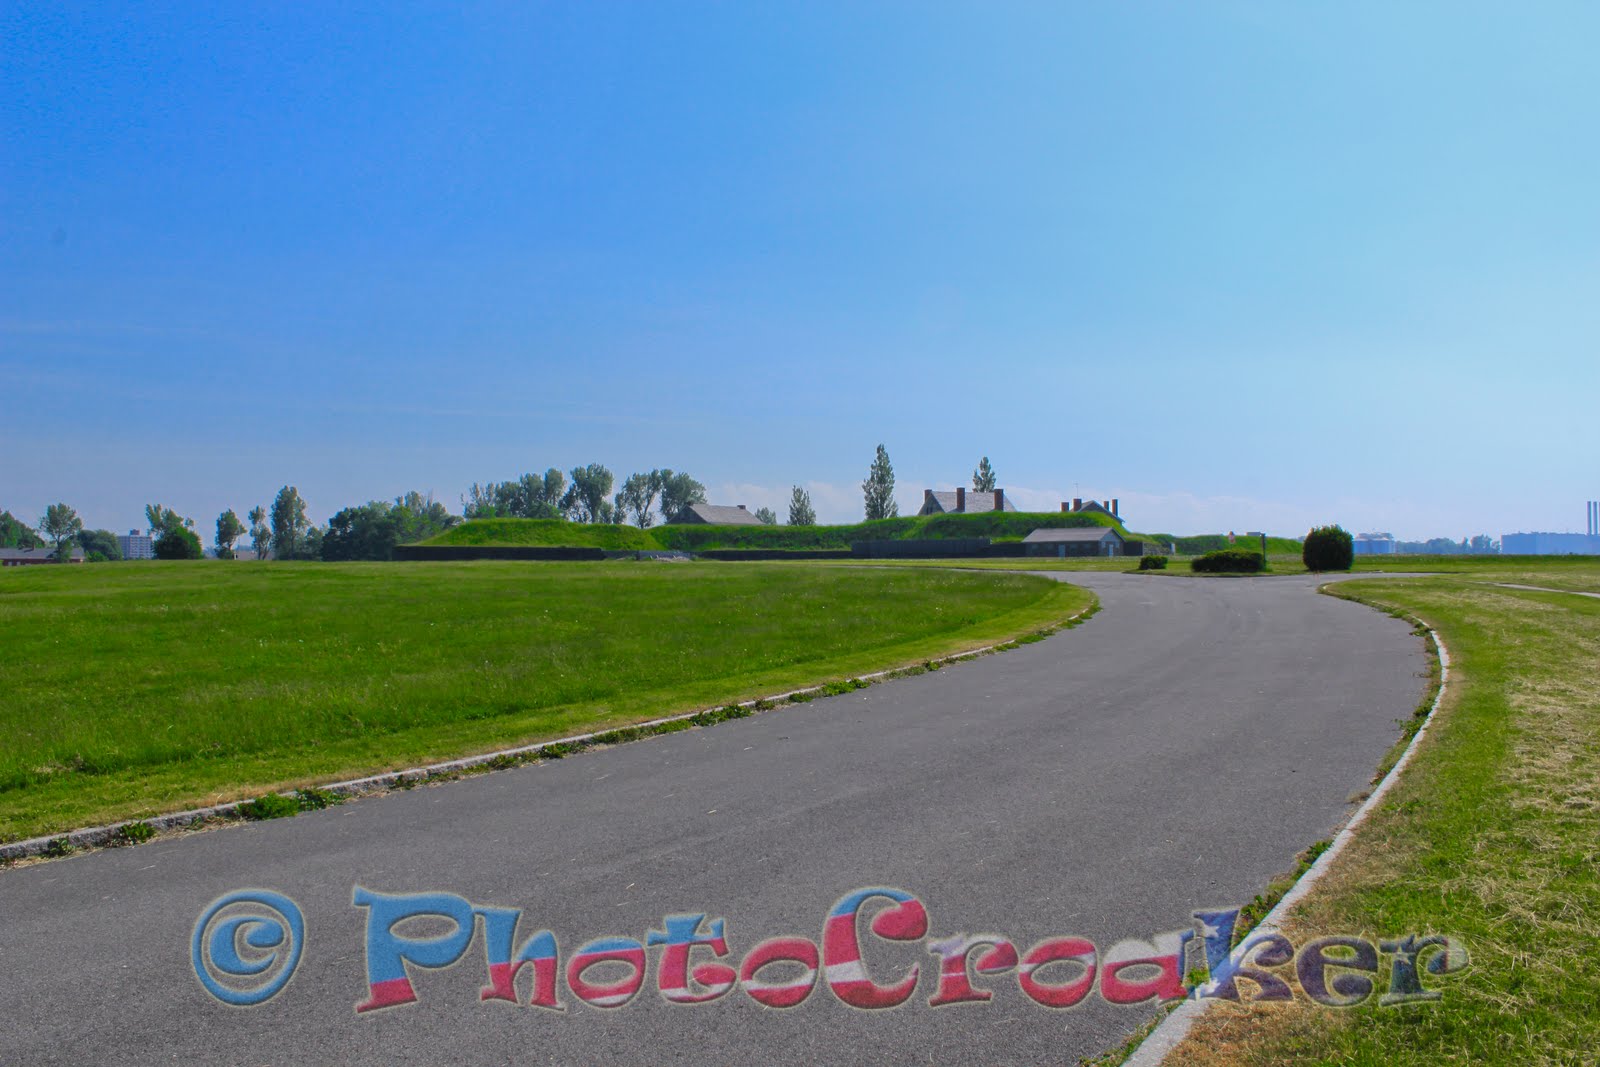
Fort Ontario, New York, Pics
Here are a few photographs I took this Memorial Day Weekend at Fort Ontario in Oswego, New York. Great fun learning about the fort and its illustrious history and I hope to visit one day when the artifacts are back in their original place where they belong. I wrote an article about my first visit to the fort here. These pictures were taken a week after the visit mentioned in the article, and as soon as I post the article that goes with these, I will post a link here as well. Hope you enjoy them.


Saturday, April 10, 2010
Trying new lens
Trying out a new lens in jpeg and no editing. Cloudy day and a cold breeze. I was very lousy with the settings, so forgive me.


Thursday, April 1, 2010
Sunset

Canon 500D (Rebel T1i) with EF-S 55-250mm IS @116mm 1/125s F/16 ISO 400
Being without a filter, wider aperture lens, a tripod, and a camera without low-noise, high ISO performance, I still couldn't let this sunset go without attempting to capture it.
For this type of shot, you really need to do two things; use a tripod and use the Manual setting where you set your own shutter speed and aperture. Using just shutter priority or aperture priority will make your shot either underexposed or overexposed, and a tripod eliminates camera shake.
I didn't have a tripod, so I did the best I could in the situation. However, I knew I played it safe, shot RAW and simulated the Polarizer filter in Photoshop using Channels.
Here's what the original image looked like:
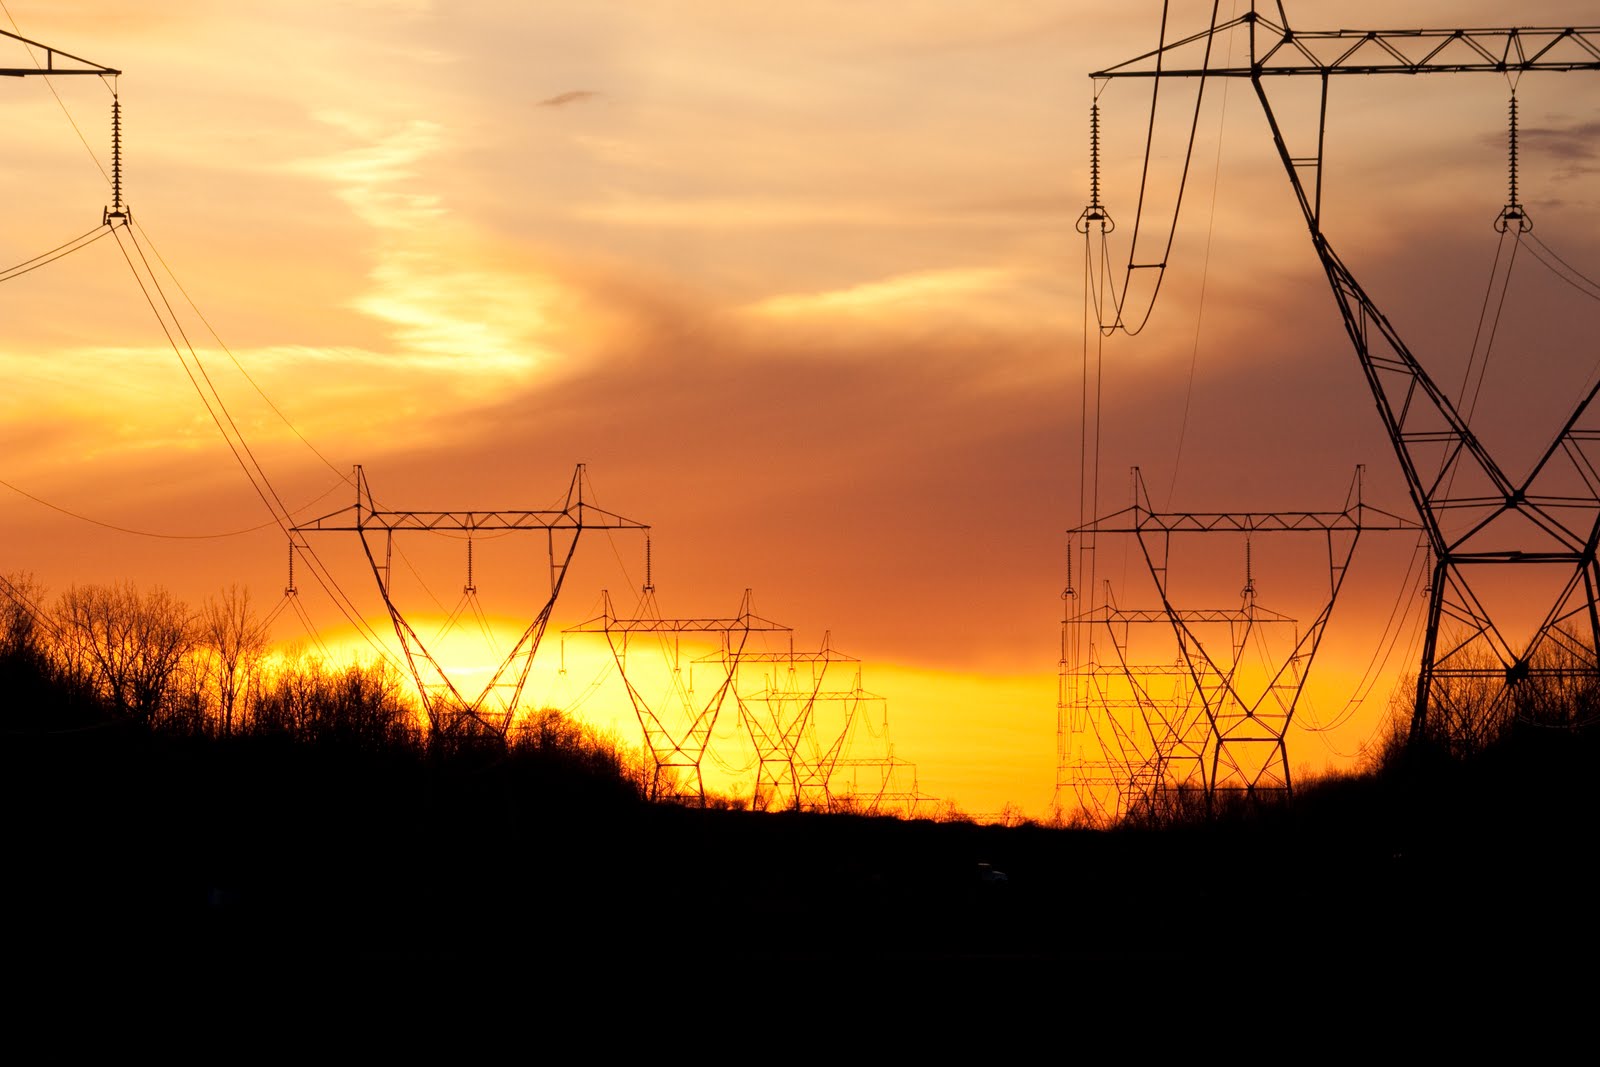
You can notice the biggest difference in the highlights and the elimination of the haze.
You can find the simple polarizer filter Photoshop tutorial here.
Sunday, March 28, 2010
Eyes
I apologize for the long delay, but between going out to shoot and staying in to write and edit those select shots I am including in a couple of upcoming works, I haven't had much time to share some tips on here...so, for that I apologize.


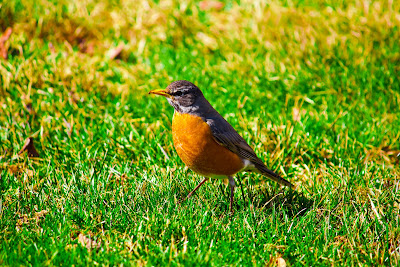
Today I want to point out the importance of making your subjects eyes clear and how Photoshop, or Lightroom, can help you. Rule one in animal photography is to have the eyes in focus and clear...as beady as you can make them...but sometimes the light situation or an off exposure will make your pictures come with darkened, unclear eyes. Notice I'm not blaming the lenses since there isn't much we can do about that at the moment because even those with the sharpest lenses do come up with photographs with darkened eyes. So, without further ado, let's see the differences...

Canon 500D (Rebel T1i) with EF-S 55-250mm IS @200mm 1/640s F/5.6 ISO 100
You can click on the image to enlarge it and you will see the eye still somewhat dark and unattractive. Now, I have not adjusted the exposure or any other setting, but I want to stress the importance of shooting RAW especially as a beginner with less than good lenses or spot-on exposure settings.
Now let's take a look at this one.

Click on the picture to enlarge it and see if there you notice the difference. I did increase the exposure, but I also used the Adjustment Brush in Camera Raw to focus on the eye and increase its contrast, clarity, and exposure. To up the color, I increased saturation all the way and a little on the brightness, too. That's the good thing about the Adjustment Brush, I could select and isolate the eye and work on it without altering the rest of the picture.
Now, let's take look at another photograph.

To end it all, here's a little something I made using this image to go along with today's subjects. Enjoy and, remember, to focus on the eye.

Now, let's take look at another photograph.

Canon 500D (Rebel T1i) with EF-S 55-250mm IS @250mm 1/640s F/7.1 ISO 100
For this set, everything is the same except for the eye and all that was needed to bring out its beauty was an extra isolated touching up using the Adjustment Brush in Camera Raw. You can see how its color contrast well with the rest of the picture and how it livens up the bird and the photograph in general.

To end it all, here's a little something I made using this image to go along with today's subjects. Enjoy and, remember, to focus on the eye.

Friday, March 5, 2010
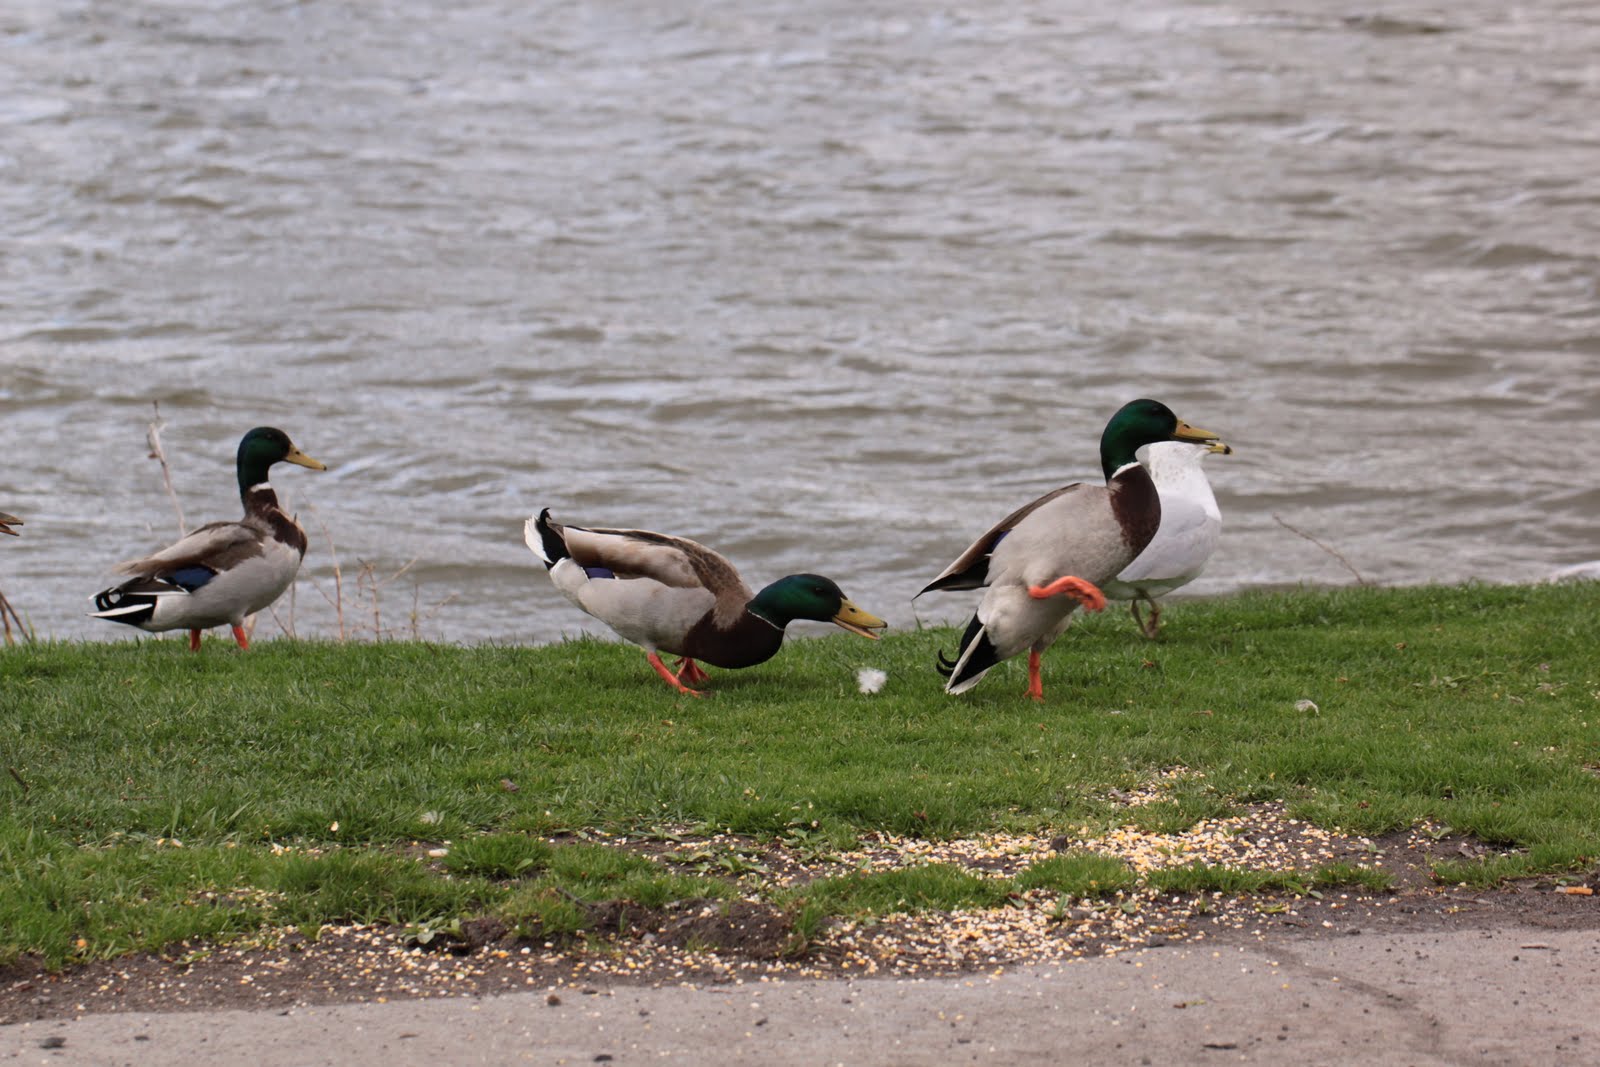
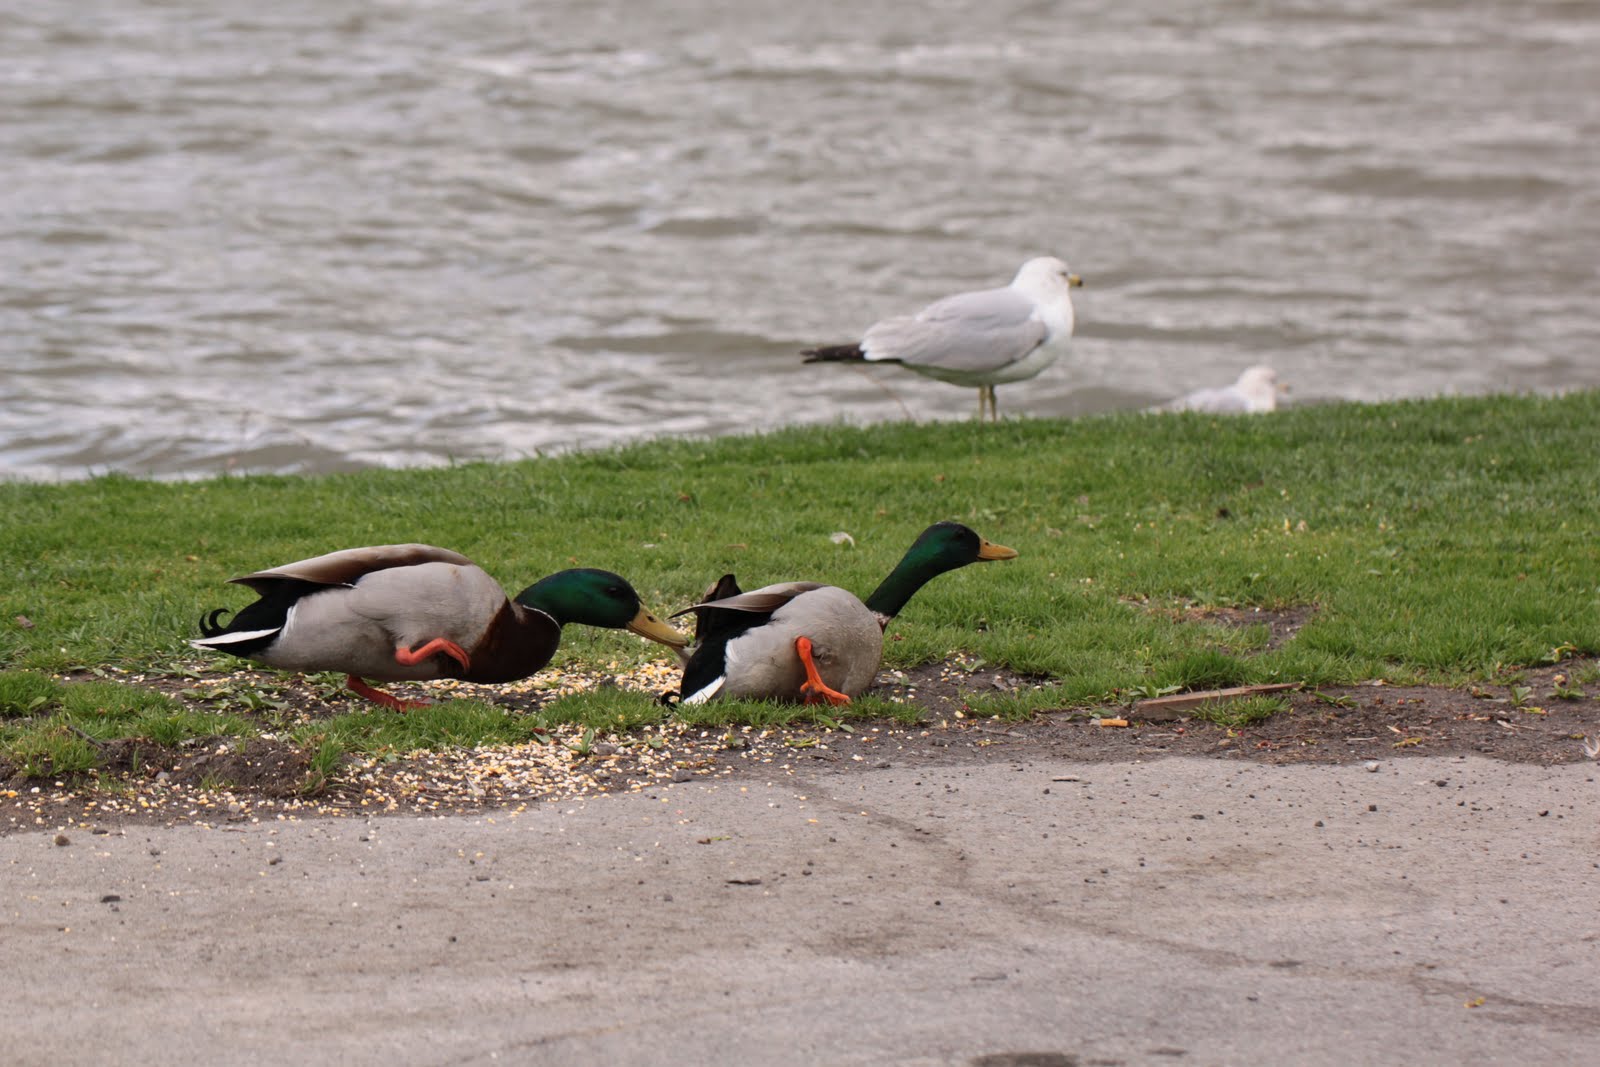
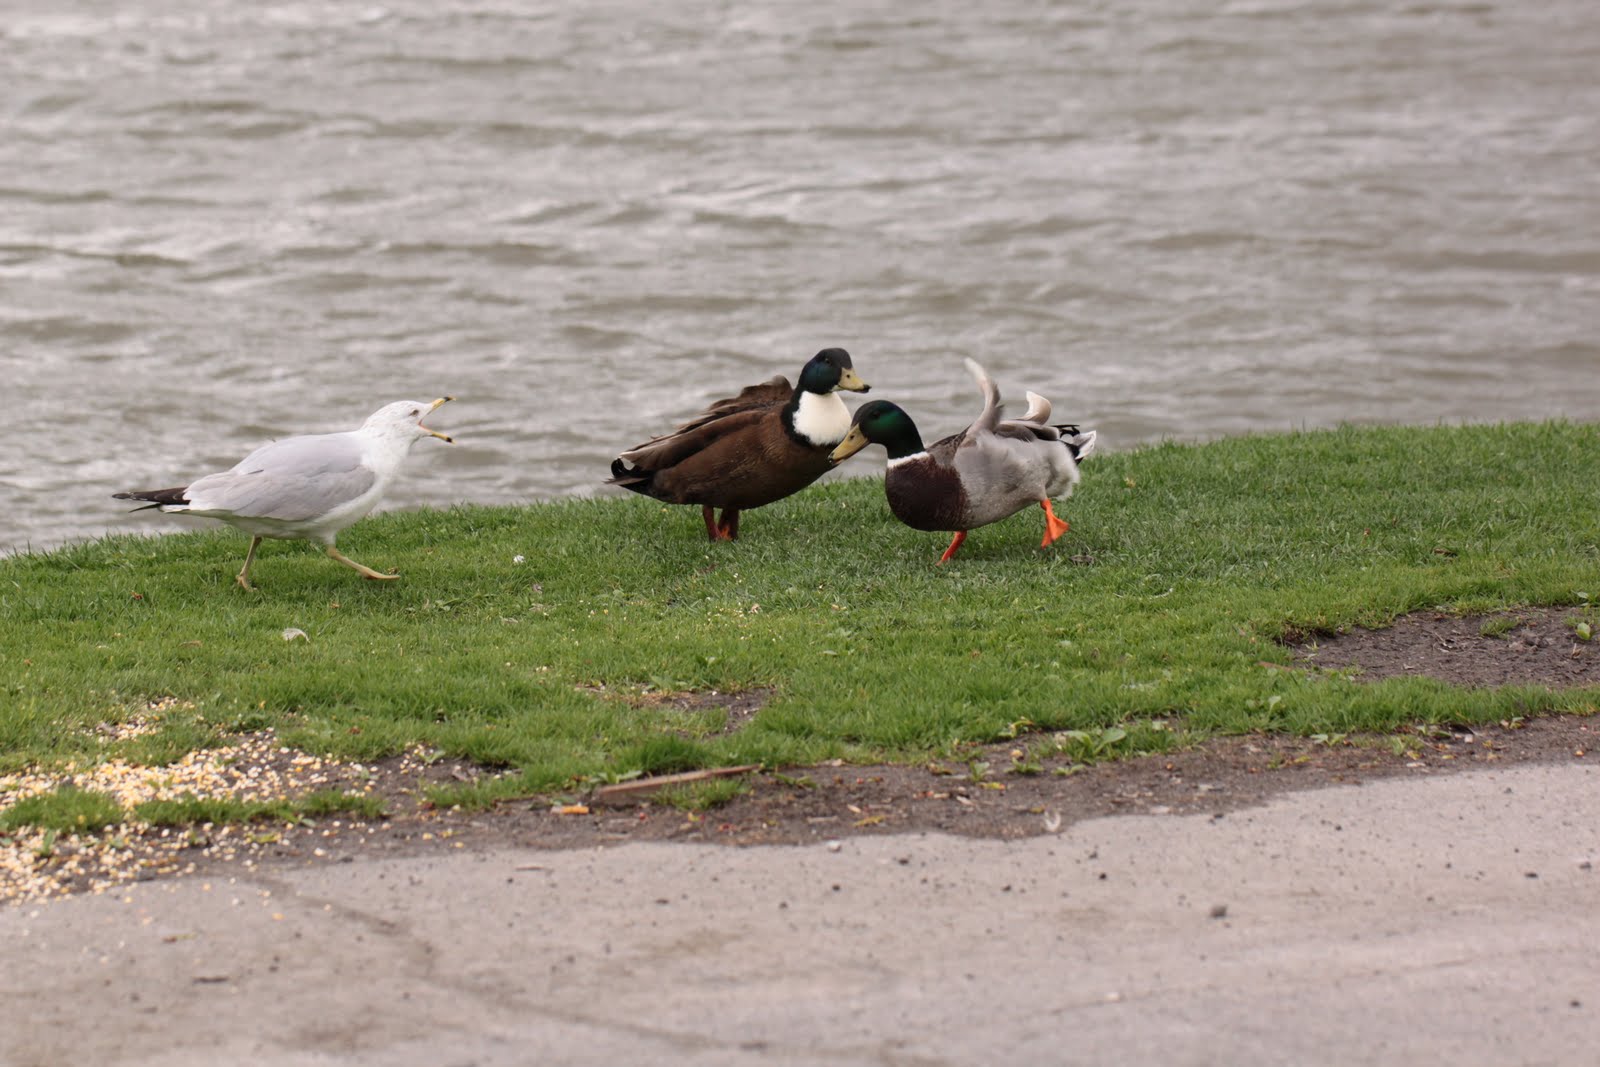
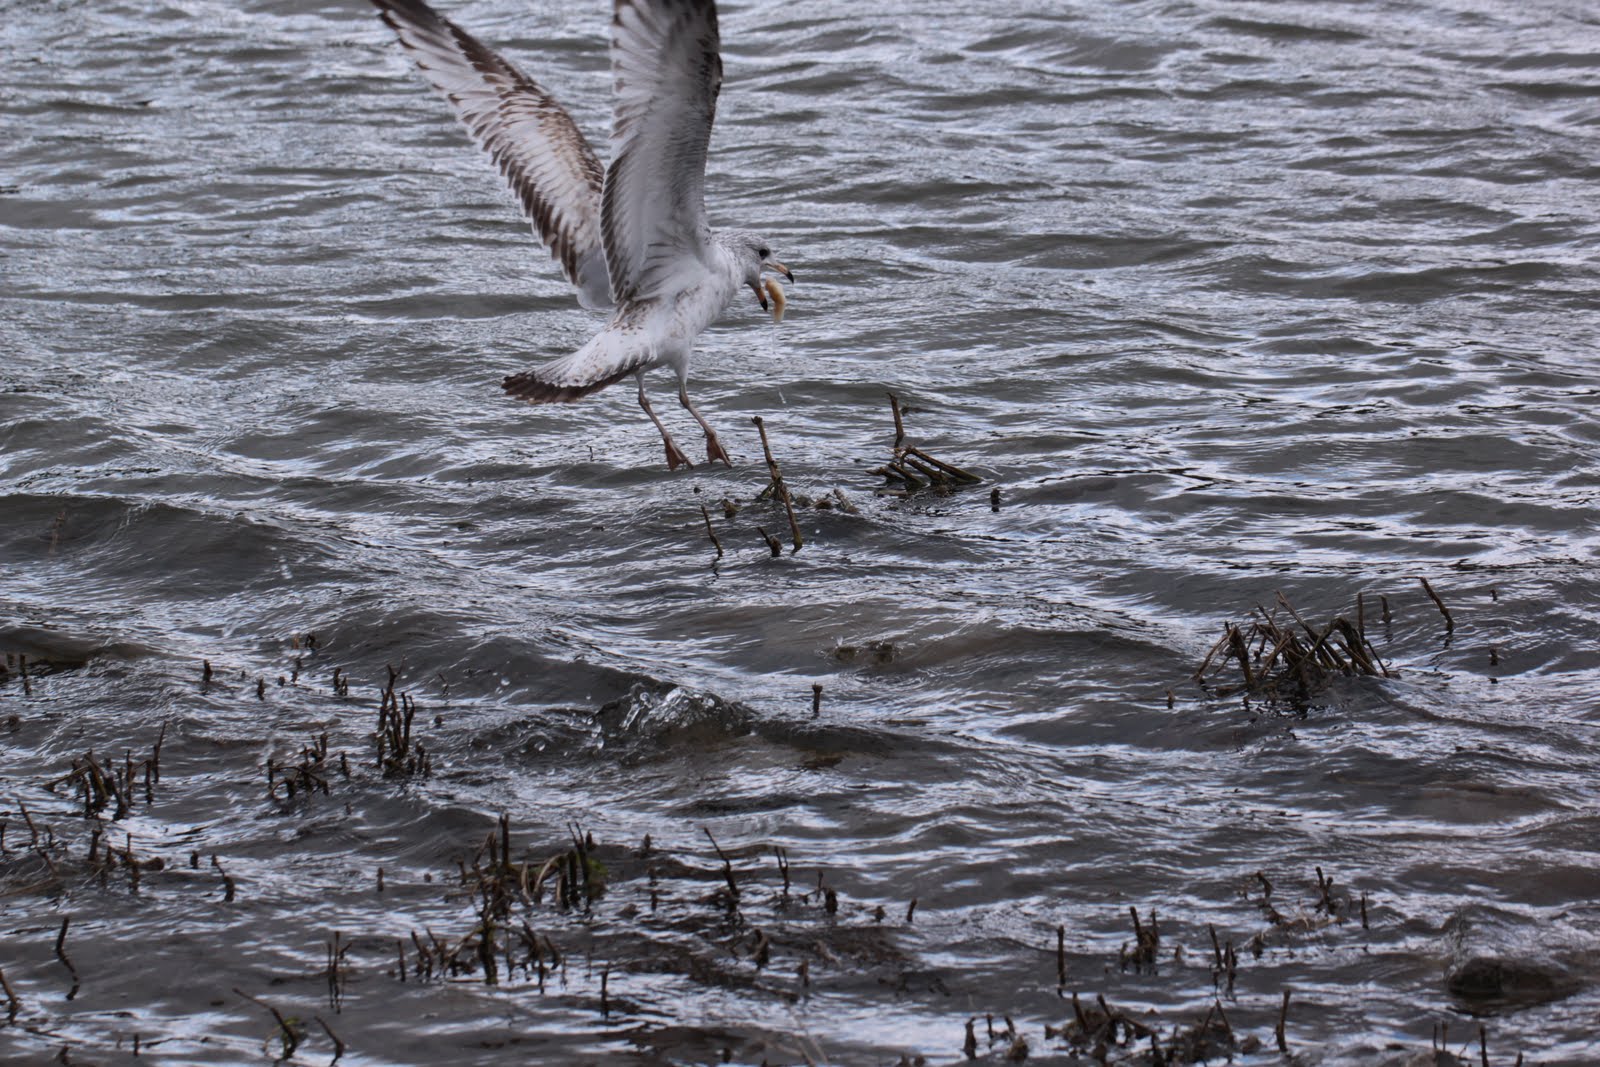
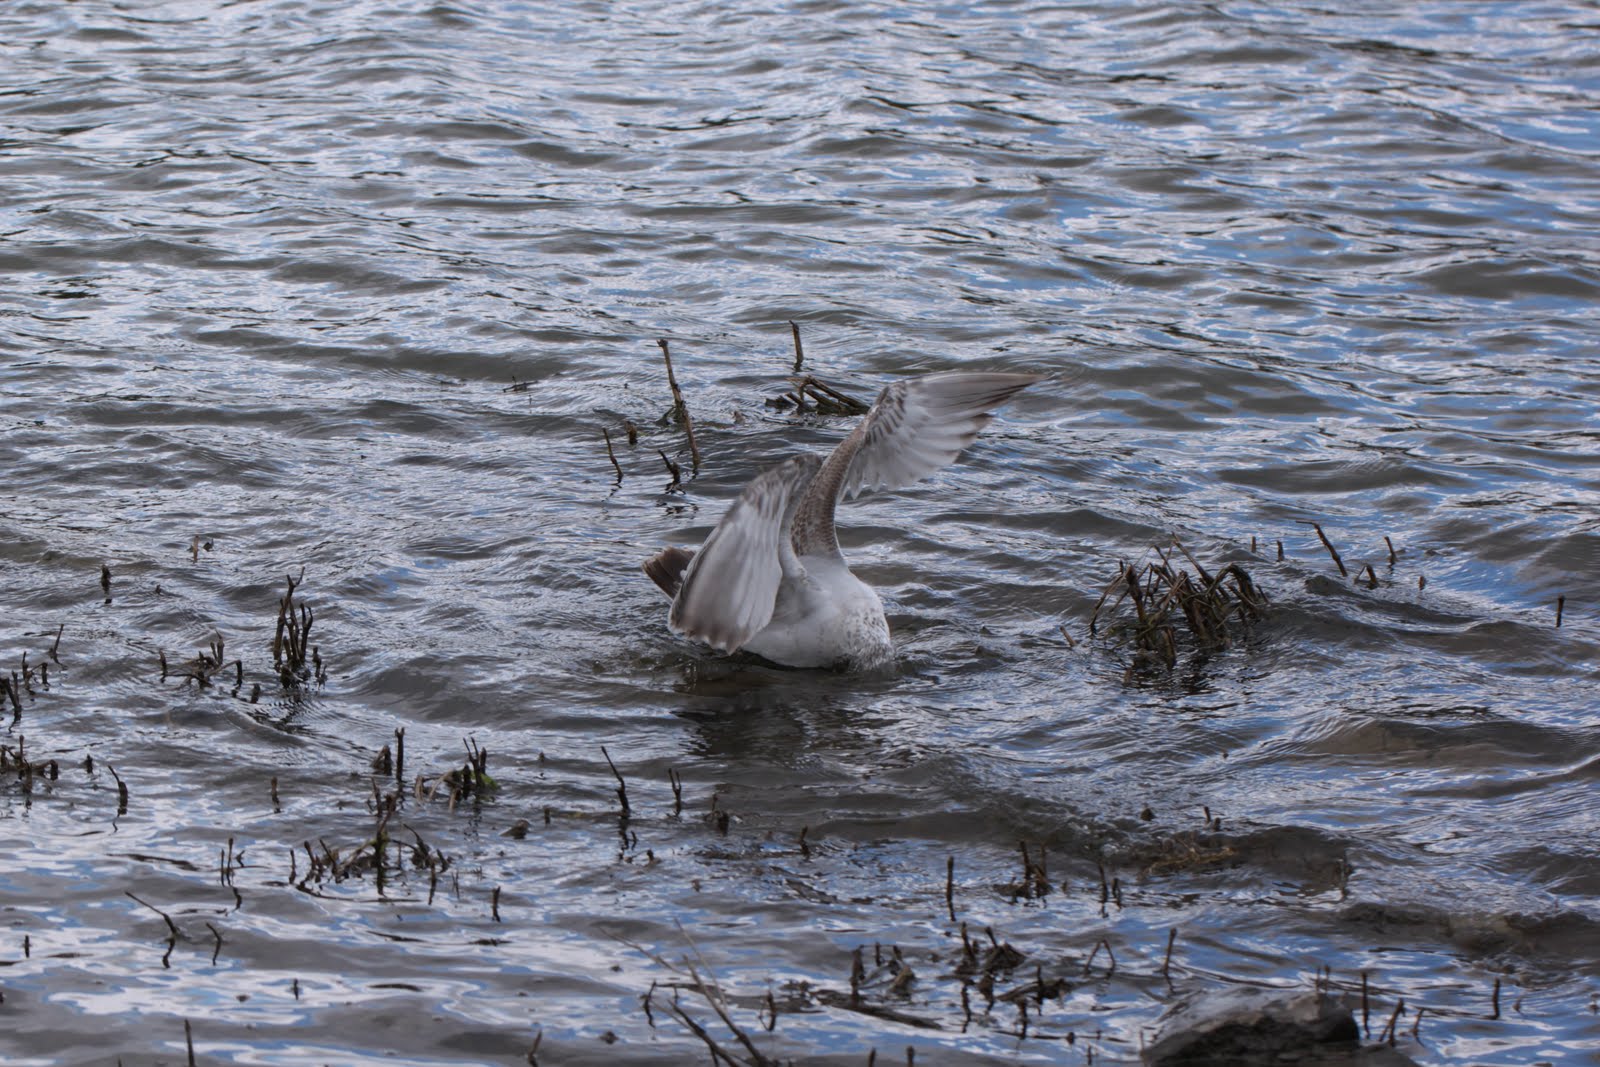
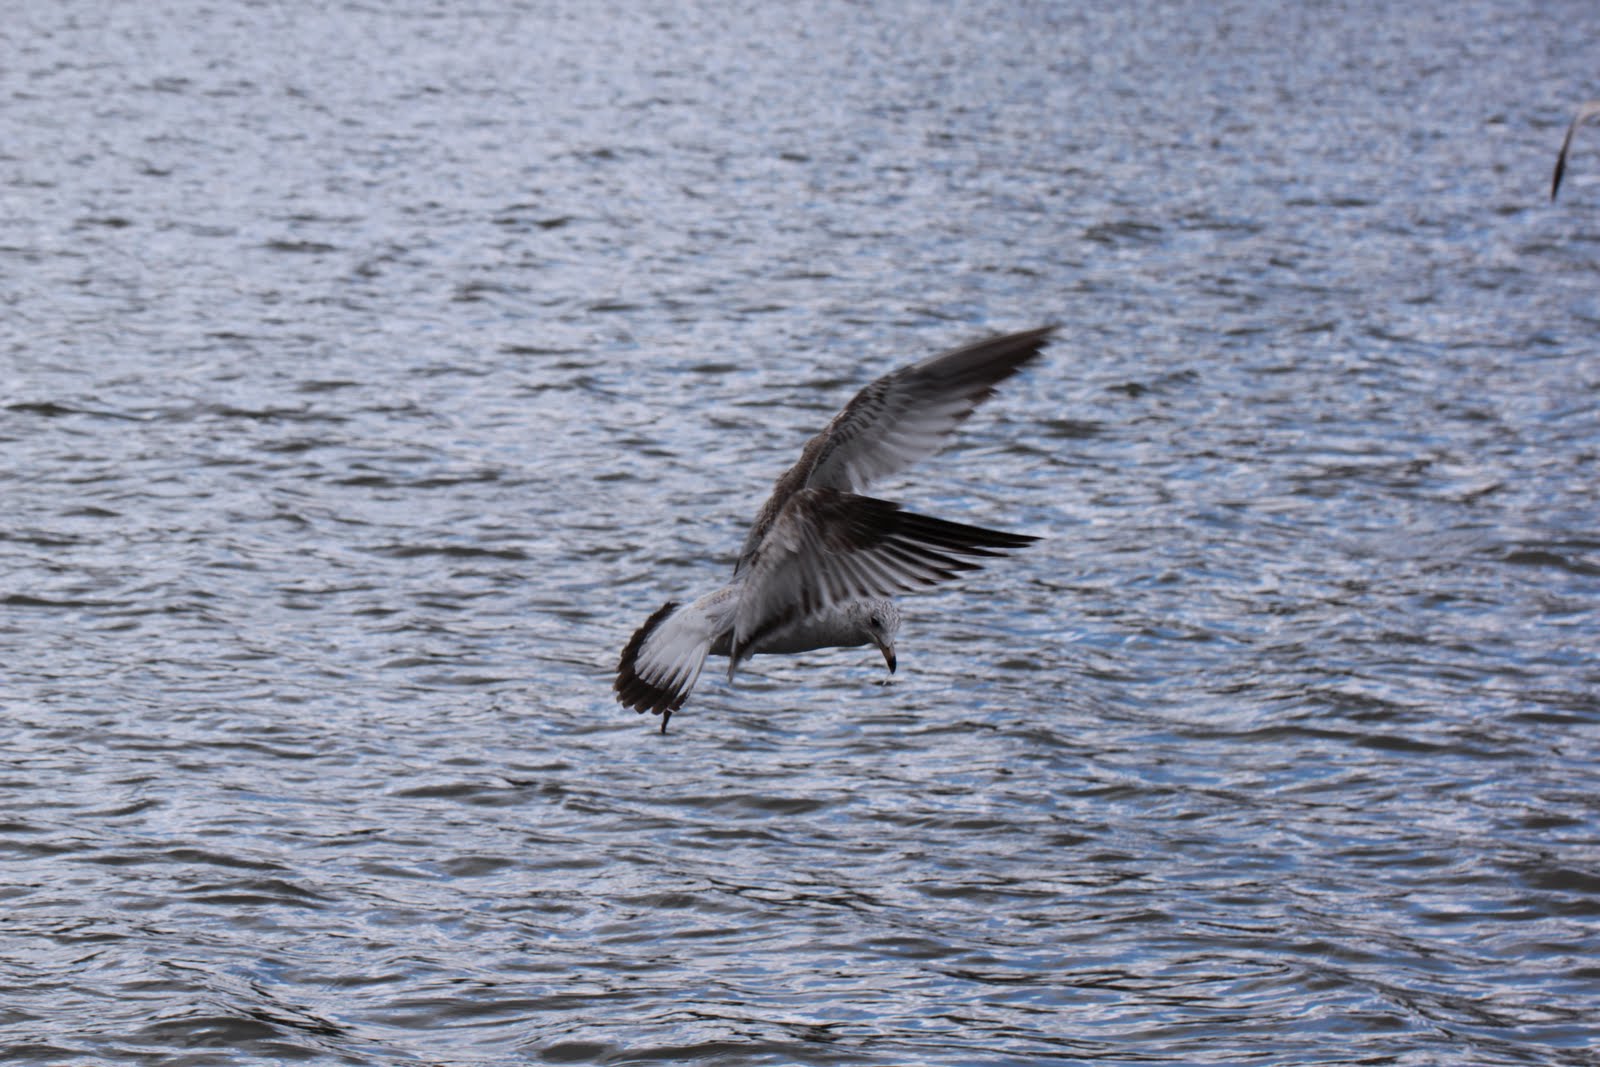
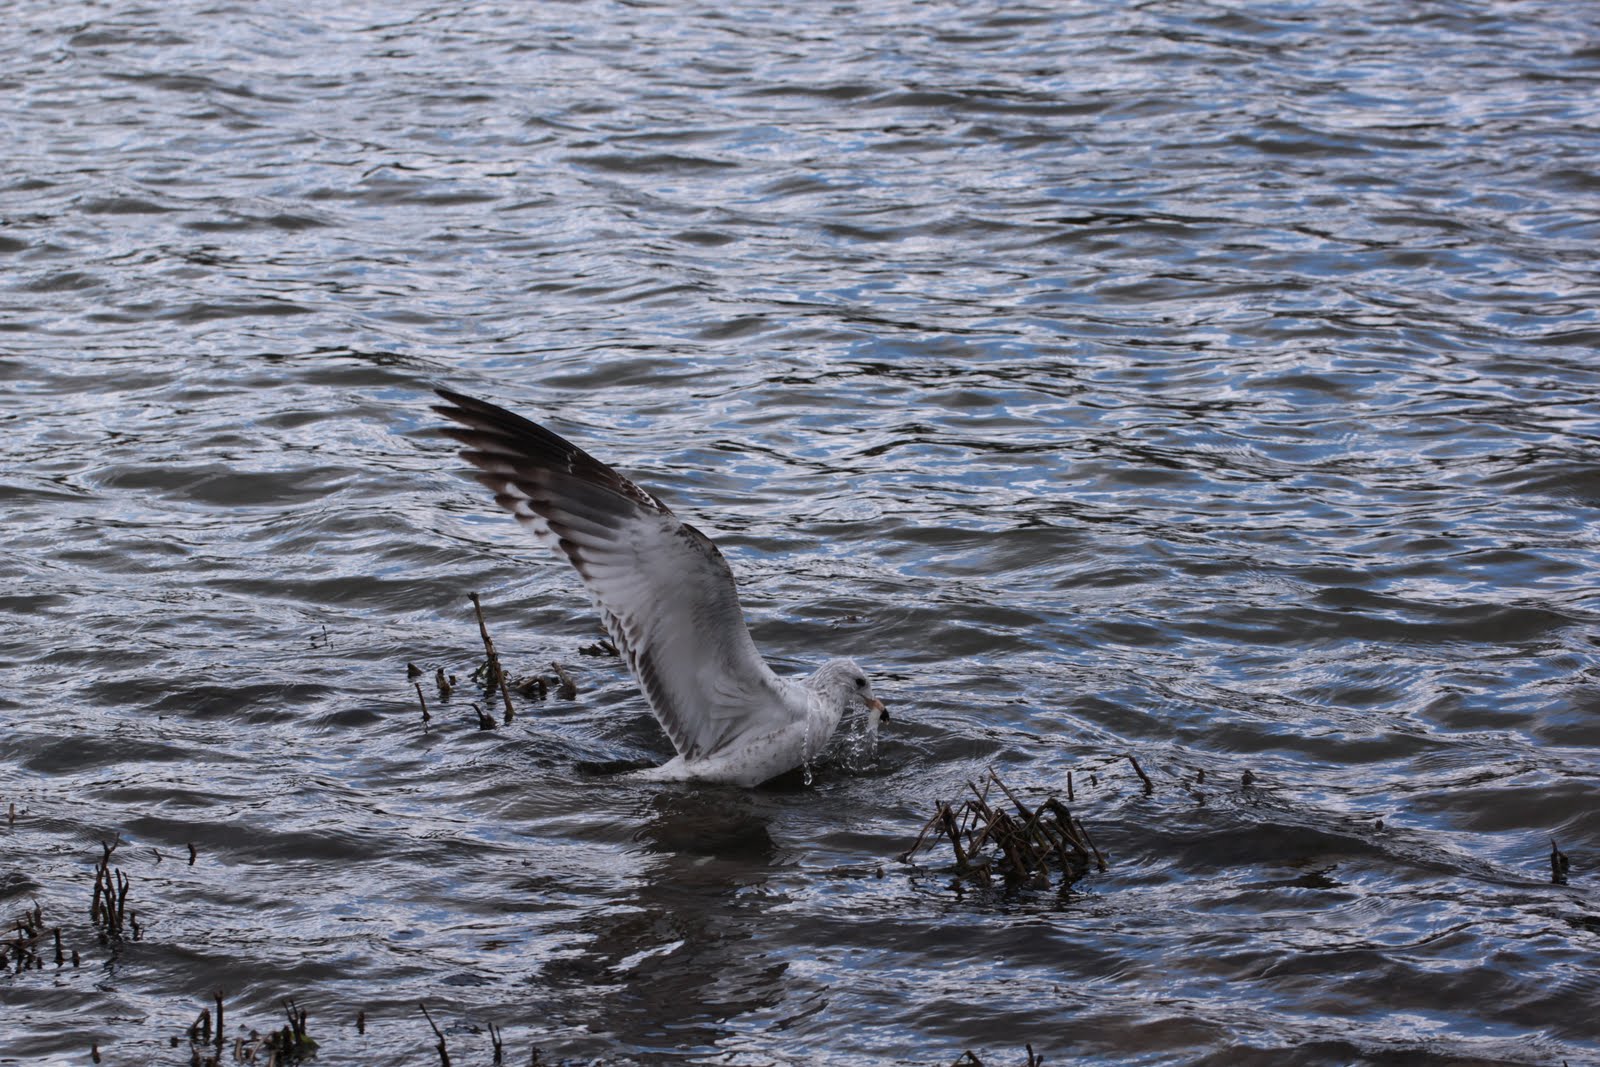
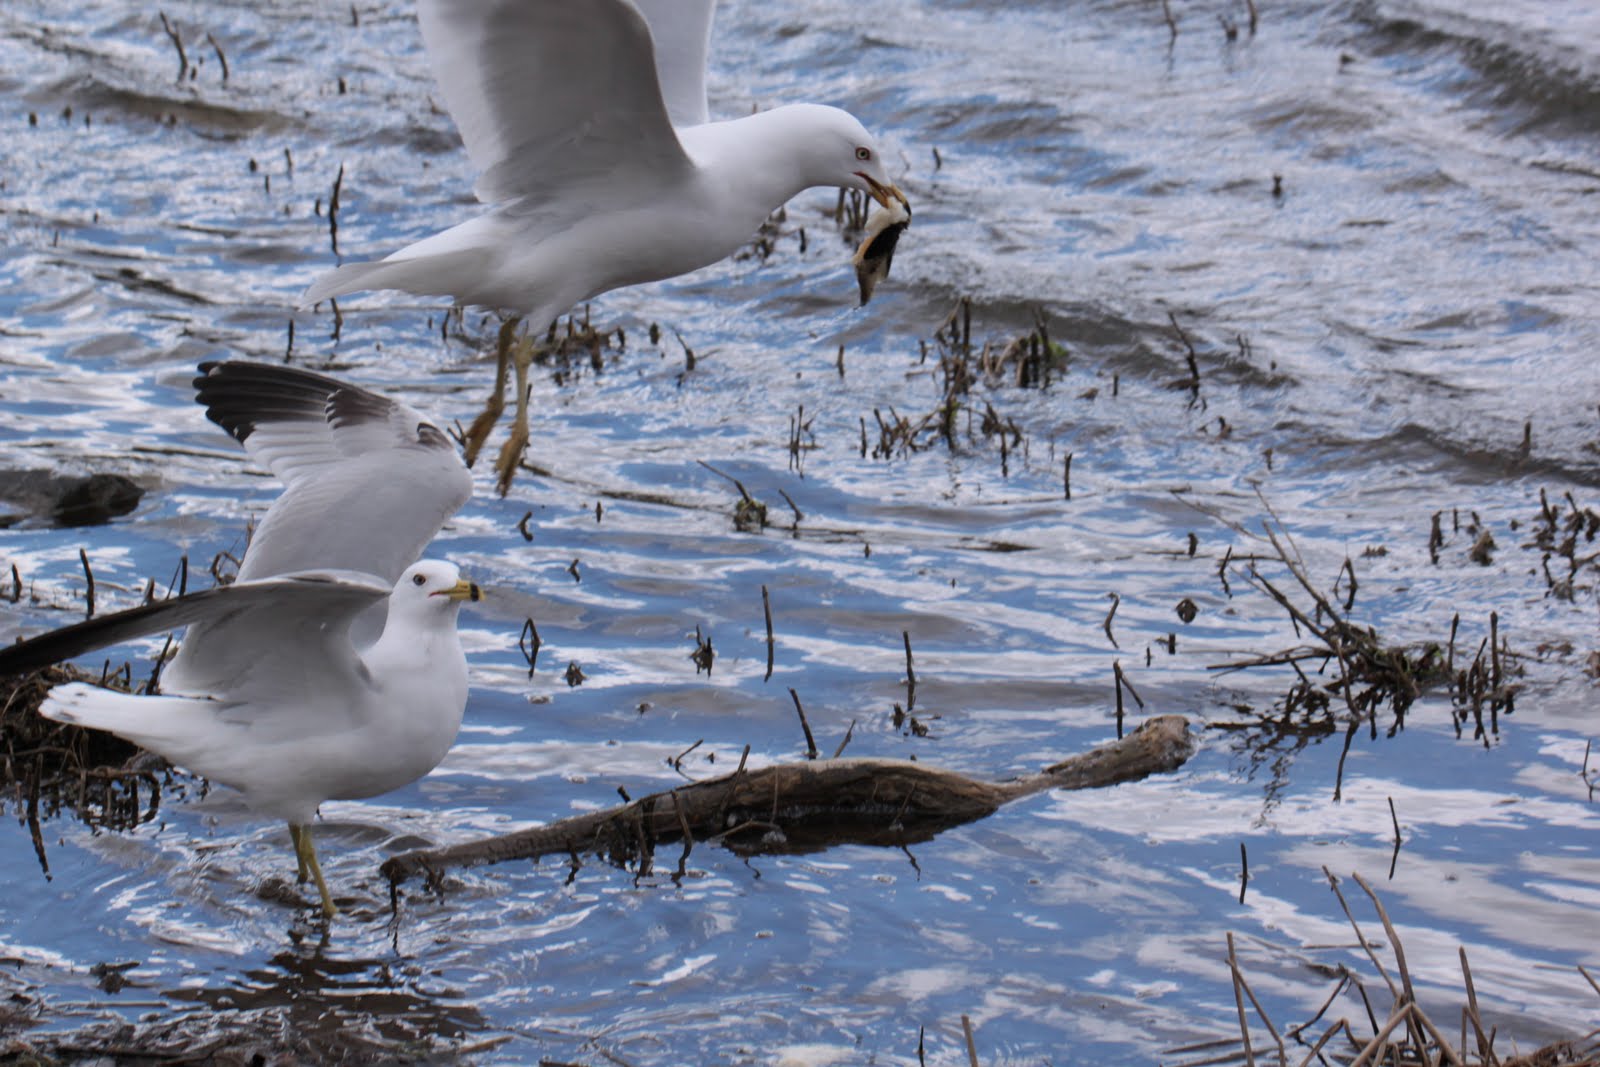
Blurry Pictures: What to do
It's been an interesting couple of days and I have been going out to take some pictures of the birds in the area since parts of the river have thawed. The pictures themselves weren't that impressive, the gulls and ducks were shy and stayed away, and I lacked the patience to wait since it was still chilly in the area. Anyways, I took a few photographs and edited them in Photoshop CS4 by adding a few effects. Some were edited in Camera Raw.
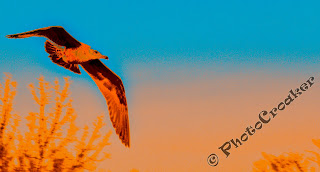 For this one (I won't list the exposure settings since I don't think it applies, but in case you're interested I was in TV (Shutter priority) at 1/400s) I increased the color temperature all the way and reduced the tint all the way to give it the blue and amber colors. I made a few other adjustments such as sharpening and contrast, but there wasn't much else I did.

This one, I shot at 1/600s and I didn't do anything to it in Camera Raw (I was simply too tired and lazy) but I converted to JPEG, sharpened it a little bit, cropped it to about 100%, and added a textures filter...I apologize, I don't remember which one it is, but you can play around and see if you can identify it. I picked this texture because of the details it brings out in the feathers.
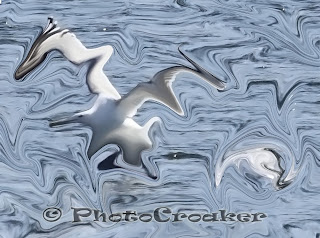
This one was also shot at 1/600s and I edited it after I converted it to JPEG. I reduced noise, sharpened, and liquefy filter (under Filters tab in PS).


This one I really love, and I didn't even know I took it until I was trying to pick which ones to post on the blog. I took it at 1/600s and I did the same as the previous one...just sharpen, noise reduction, and used a filter (Pallette knife from the Artistic option).
The reason I edited these this way is because I used really slow lens to take them and they came out grainy and blurry. The Canon 55-250mm IS lens are really slow and the AF, though I use the AF Lock setting on the camera, really tried but failed. Many photographers will tell you that you should toss blurry pictures, but I think they can be salvaged and turned into different pieces of art. Although I'm primarily a writer, I consider myself an artist, first and foremost. As much as I paint pictures with words, it's my goal to also tell stories with my images, hence my love for photography.
So, next time an image comes out grainy and too blurry to use, instead of tossing it aside, see what you can do to it...it might be an opportunity to create a different type of work of art.
Happy shooting, folks, and a wonderful weekend.
Sunday, February 28, 2010
Should You Shoot RAW?
You've probably heard about RAW and its supposed benefits, but should you be shooting RAW? If you are a beginner, any seasoned photographer will tell you that the best way to improve and get acquainted with your camera is to snap, snap, snap...take as many photographs as you can. By doing this, you get to know the limits of your camera and its best settings under different shooting conditions. JPEG takes less memory card space than RAW, so in this aspect I would suggest you begin by taking JPEG pictures until you are better at judging the optimum settings for any scene you encounter.
Secondly, RAW can turn you into a lazy photographer. Don't believe me? Take a look at these two photographs I took while I was experimenting with RAW.


For this one, I simply reduced exposure by a few stops, darkened the highlights, and made a few other adjustments to bring out this image.
This one was more unforgiving as the noise was simply too much. I cranked up the exposure, then used the Adjustment Brush in Camera Raw to pump it up again, put saturation at 0, pumped up contrast and clarity both to 100, and did a few other things to try to bring out the image. I still like the effect of the enlarged pixels, so I cropped it to try to highlight them more.

Well, these images are extremes, but they show how one can take an image without putting too much stock in using the right exposure settings by shooting RAW.
Another thing is that as a beginner or intermediate photographer, your focus should be on learning about taking a good picture and not manipulating them. If you haven't done so, take a look at my previous post on taking a great photograph. After that, you will find you don't have to manipulate a picture as much, and you will be well on your way to being the great photographer we all know you can be.
Secondly, RAW can turn you into a lazy photographer. Don't believe me? Take a look at these two photographs I took while I was experimenting with RAW.

Canon 500D (Rebel T1i) EF-S 55-250mm IS @ 60mm 1/100s F/8 ISO 400

Canon 500D (Rebel T1i) EF-S 55-250mm IS @ 79mm 1/100s F/4.5 ISO 800
Both of these represent the extremes of the histogram (I will talk about the histogram in a future post). One is completely white, while the other is completely black. In the first, the speed was too slow for the condition, and the speed was too fast for the second one.
If this had been JPEG, I wouldn't have bothered to fix them as it takes too long to fix something like this and the final image would have punished the quality so much that it wouldn't have been worth the hassle.
Keep in mind that I did this on purpose to see what I could get away with in RAW, but it's not unusual to take such pictures while you are still getting used to playing around with the settings, so don't feel bad if some of your shots turn out this way.
Here's what came out once I finished retouching them in Camera Raw.

For this one, I simply reduced exposure by a few stops, darkened the highlights, and made a few other adjustments to bring out this image.

This one was more unforgiving as the noise was simply too much. I cranked up the exposure, then used the Adjustment Brush in Camera Raw to pump it up again, put saturation at 0, pumped up contrast and clarity both to 100, and did a few other things to try to bring out the image. I still like the effect of the enlarged pixels, so I cropped it to try to highlight them more.

Kind of like a mosaic, right?
Well, these images are extremes, but they show how one can take an image without putting too much stock in using the right exposure settings by shooting RAW.
I, personally, shoot RAW, but I still put as much effort into using the right exposure as if I was shooting JPEG. RAW can be your best friend, but it can also be a hindrance into you becoming a good photographer if you are not careful. I strongly suggest you shoot JPEG until you are familiar with all the aspects of exposure, then you can focus on RAW and learning the software needed to fully get the most out of it. You will appreciate the extra leverage give by RAW that way, too.
Another thing is that as a beginner or intermediate photographer, your focus should be on learning about taking a good picture and not manipulating them. If you haven't done so, take a look at my previous post on taking a great photograph. After that, you will find you don't have to manipulate a picture as much, and you will be well on your way to being the great photographer we all know you can be.
Great snapping, folks.
Subscribe to:
Posts (Atom)